10 Easy T-Shirt Upcycles for Beginners Using Clothes You Already Own
Key takeaways
Start with a clean garment, test one small change, and select projects that suit knit fabric rather than forcing it into a woven-fabric pattern. This beginner guide keeps the project small, practical, and original. You do not need a studio full of supplies to begin. A calm workspace, a limited material choice, and the habit of testing on a scrap first will carry you further than an ambitious first attempt. The goal is to make something useful while learning how your fabric behaves.
Why this project is worth trying
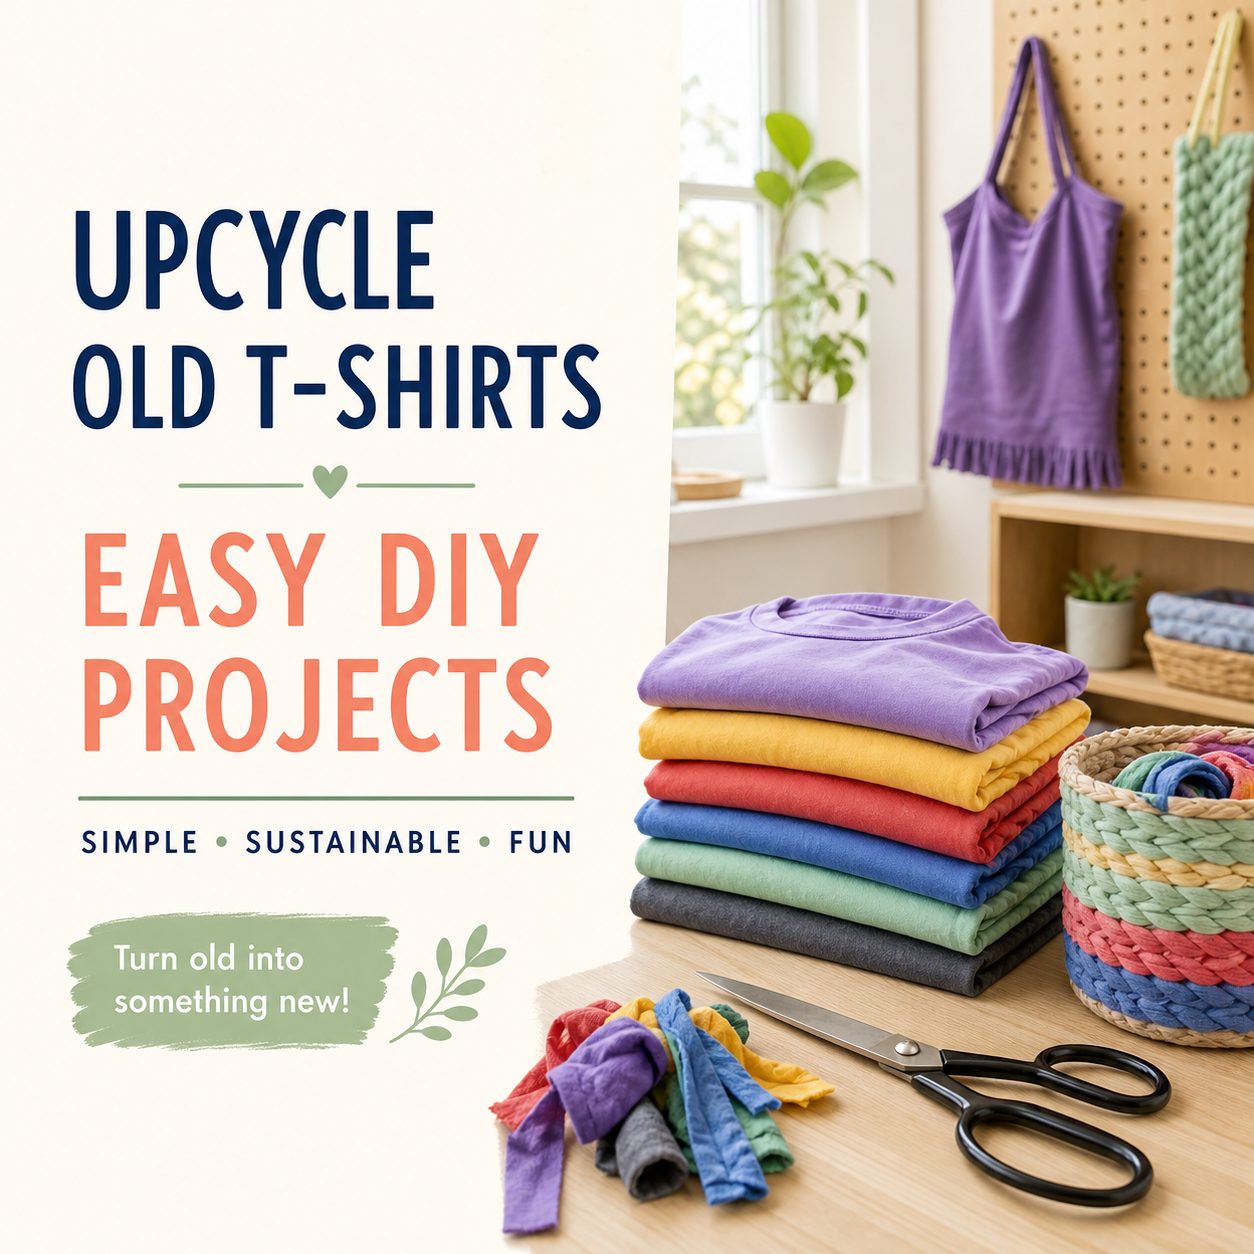
Picture a soft T-shirt becoming something more useful than a forgotten drawer item. That kind of transformation is satisfying because it connects a real problem with a creative decision. It is not a promise that every piece of clothing can or should be saved. Some fabric is too thin, damaged, stained, or uncomfortable to turn into a project. But a thoughtful repair or refashion can help you learn useful skills and extend the useful life of material you already own. The U.S. Environmental Protection Agency documents textiles as a material stream and notes that reuse exists alongside recycling; this guide makes no claim about the impact of any single project.
Materials and preparation
Gather only what the project needs: the item to be repaired or transformed, a washable marking tool, measuring tape or ruler, sharp fabric scissors, pins or clips, a needle and thread for hand work, and a machine only when the project calls for it. Add an iron and pressing surface when safe and available. Check the care label, feel the fabric for stretch, and examine seams before cutting. Denim reacts differently from a stretchy knit, heavy denim, or slippery lining, so make one test seam or sample patch from an inconspicuous area first.
Step 1: Define a modest finish
Decide what “done” means before you start. For easy T-shirt upcycles, write a short finish line: the hole is supported, the bag can carry a light load, the hem lies flat, or the pouch closes smoothly. A clear finish prevents the common beginner habit of adding details before the base is strong. Put the item on a flat surface, take a simple before photo for your own reference, and mark the area that will change. Leave extra fabric whenever possible. You can trim later; you cannot easily add back a piece that was cut too small.
Step 2: Test the technique on a scrap
Use a scrap from the same garment, a similar offcut, or an inside seam allowance. Test stitch length, thread color, pressing temperature, and seam allowance. Pull the sample gently to see whether the stitches pucker, break, or feel too stiff. For hand stitching, practice even spacing rather than pulling the thread hard. For machine sewing, run the machine slowly and keep your hands beside the fabric rather than directly in front of the needle. A seam ripper is a normal learning tool, not evidence that you failed.
Step 3: Build from stable areas
Work from the strongest part of the material toward the edge. Support weak fabric with a patch, lining, interfacing, or a second layer only when it suits the item and care instructions. Keep seam allowances consistent and pause to press or finger-press each new seam. Pressing is not decorative: it helps you see whether a seam is twisting, whether corners are bulky, and whether a lining is sitting where it should. If a step begins to feel confusing, stop and compare the piece with the original plan before continuing.
Step 4: Check function before decoration
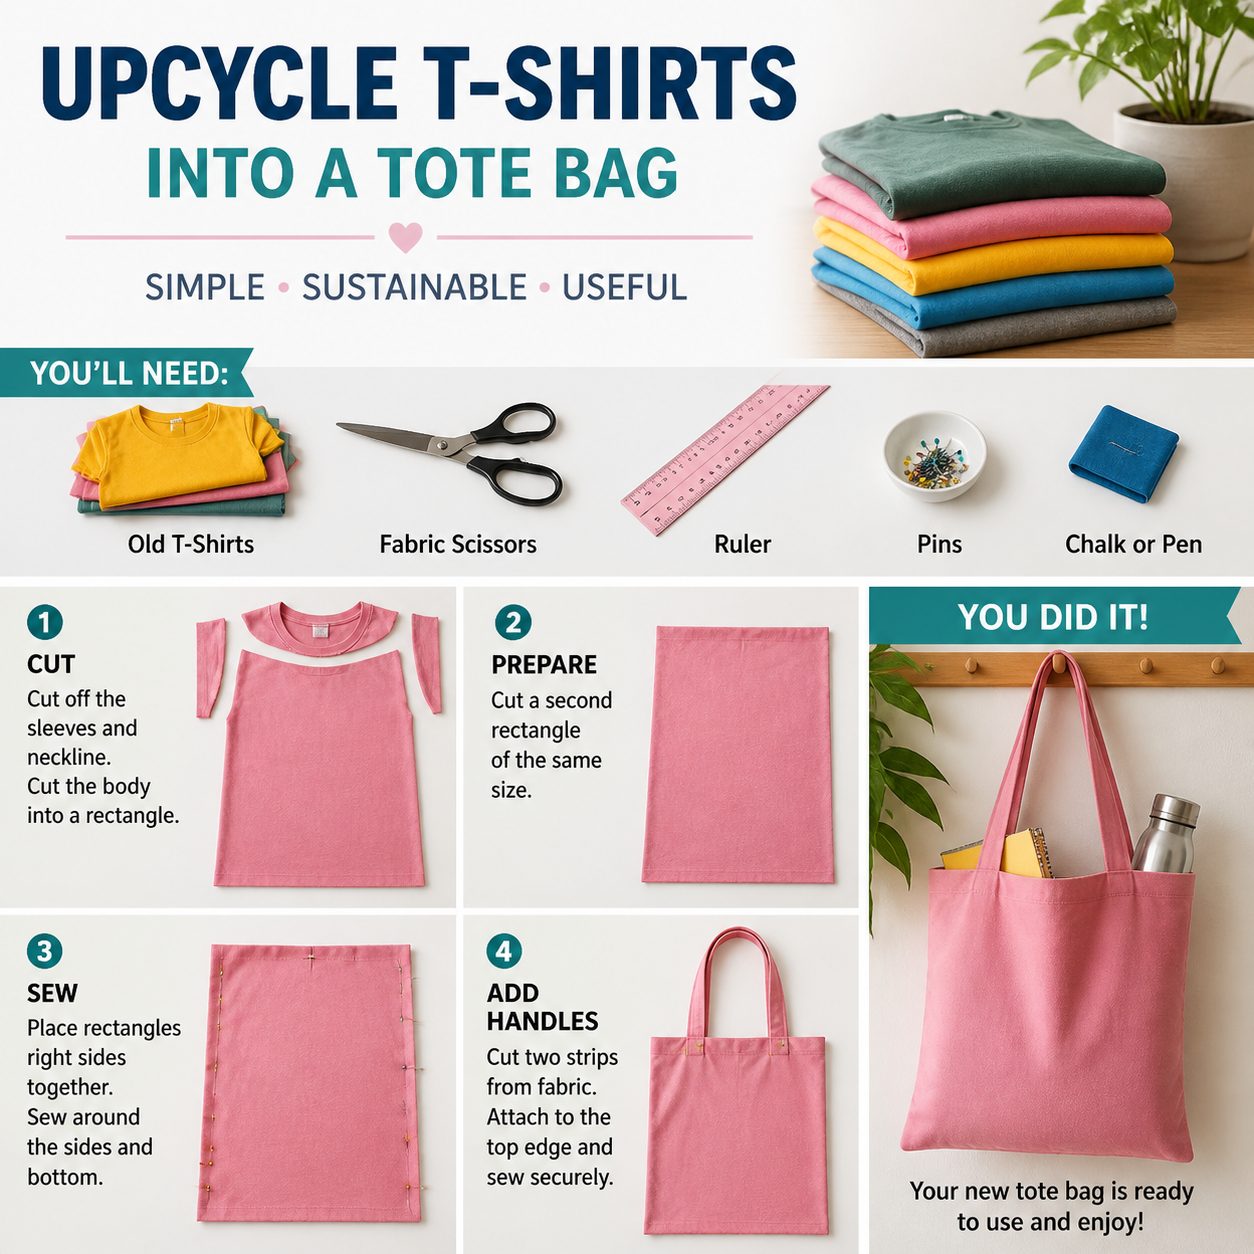
Try the object in the way it will actually be used. Open and close the pouch, bend the repaired knee, carry the bag lightly, or place the home item where it belongs. Look for strain at corners, scratchy thread ends, uneven hems, and places where the fabric bunches. Reinforce only the areas that need it. Decorative stitching, contrast thread, labels, or patches can come after the practical structure works. This order keeps your project wearable, washable, and easier to adjust.
Step 5: Finish, photograph, and learn
Trim loose threads, remove temporary marks according to the product instructions, and give the item a final press if the material allows it. Make a note of the fabric type, needle choice, thread, and one thing you would change next time. A before-and-after photo can help you see progress, but it does not need to be posted. If you later share a tool or supply recommendation with an affiliate relationship, use a clear disclosure close to the link; a vague label is not a substitute for telling readers about a commission.
Common beginner mistakes
The most common problems are cutting before measuring, forcing a woven pattern onto stretchy fabric, skipping the test sample, using dull scissors, and sewing through bulky intersections too quickly. Another mistake is treating every old garment as suitable material. If fabric is badly degraded, contaminated, or uncomfortable, choose a different reuse, donation, or disposal route according to local guidance. Do not put textiles in curbside recycling unless your local program explicitly accepts them.
FAQ
Is easy T-shirt upcycles suitable for a complete beginner?
Yes, when you choose a small version, use stable material, and accept that the first project is a learning sample as well as a useful item.
Do I need a sewing machine?
Not always. Many repairs and small projects can begin with hand sewing. A machine can speed up straight seams, but it does not replace careful measuring, testing, and pressing.
How do I know when to stop?
Stop when the item works safely for its intended light use, the fabric lies comfortably, and additional changes would only make the project harder to maintain.
Related next steps
After completing easy T-shirt upcycles, choose one adjacent skill rather than a completely new challenge: practice a straighter seam, try a different patch shape, learn to read one pattern symbol, or make a second version from less sentimental fabric. A beginner refashion practice grows through small, repeatable experiments.